
Fighter Jets are cool–very cool. It’s a blast to experience the learning and operating a fighter jet with a study level sim such as Digital Combat Simulator.
Even in a simulator, flying a 4th-gen multi-role fighter isn’t easy. Lots of bells and whistles. Sensors fused together that provide layers of situational awareness. Aircraft and weapon systems that demand quick focus and precision.
Pilots must continuously manage their 4 radios and communicate effectively with the 4-20 other aircraft and airborne controllers (AWACS). All taking place over mach 1.0 and only a dozen feet off the wing tip of their flight lead.
A mouse and keyboard only go so far… Which is why I have been venturing into the world of custom hardware!
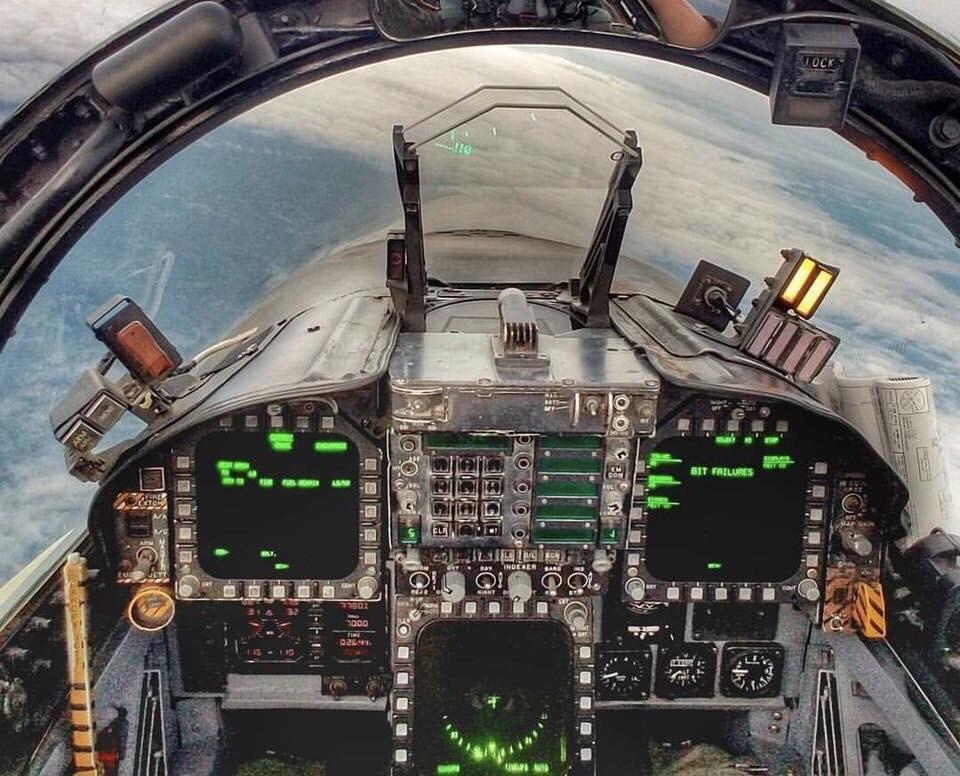 F/A-18C predates the updated touch screen UFC of the Super Hornet
“Real Stuff”
Software is great! Pure conceptual models are full of creativity. Martin Fowler calls it “Thought Stuff”. For me, the world of electronics and microprocessors has always felt closer to “Real Stuff”. Unlike software, the feedback loop can be long and tedious. You can’t quickly imagine into existence new useful models that solve problems–one does not simply conceptualize in order to break down limits with hardware.
Using simulators like Wokwi helps immensely but falls short of making a useful tool. In my case, the useful tool is an F/A-18C Up-Front-Controller (UFC) for flight simulation. Once I discovered how cheap custom PCBs are, I had to make one myself.
F/A-18C UFC
A pilot uses the Hornet’s UFC to control critical systems including autopilot, TACAN, Link-16 datalink, IFF, and more. The Charlie Hornet’s UFC uses physical buttons and switches.
At the time, F/A-18 UFC replicas were expensive custom pieces by small-time manufacturers. The core buttons that I wanted in my UFC included system buttons (~7), a 3x4 keypad, and the 5 ATM-style push buttons. All I needed was 24 buttons or a 5x5 macro-pad.
Design
My goal was to create a 5x5 macro-pad using a custom PCB. I chose clicky mechanical switches and a RP2040 microcontroller. The RP2040 can function as a human input device (HID) which is required to send key presses or gamepad events to a PC.
When making the button matrix, I decided to skip the diodes for N-Key rollover (pressing any number of keys at the same time). The UFC buttons aren’t typed on like a keyboard–even without the diodes, more than one key can often be pressed at the same time depending on the keys.
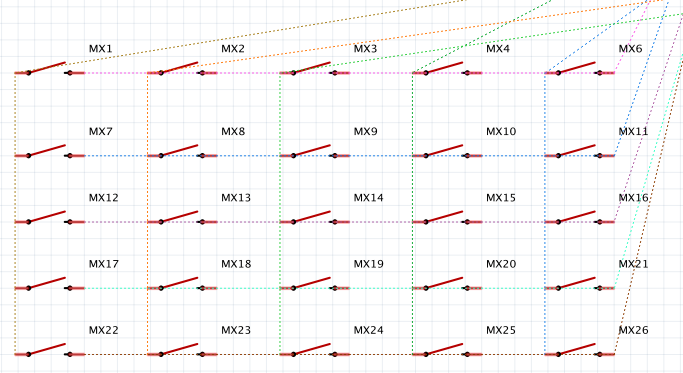 5x5 button matrix schema
Custom PCB’s with 2 layers sized at 100mm by 100mm only costs $2 (plus shipping) from JLCPCB.
I chose Fritzing, an open source tool for electronics and PCB design. Its lower barrier to entry compared to other PCB design tools was more appealing.
Auto-routing in Fritzing makes a mess of traces and may even create invalid traces. Here is an early experiment with a larger board. The tracing is routed with the auto-router (ignore the invalid mapping):
 What a mess!
Drawing the traces myself resulted in a much cleaner look, and they were a lot easier to validate before sending the order.
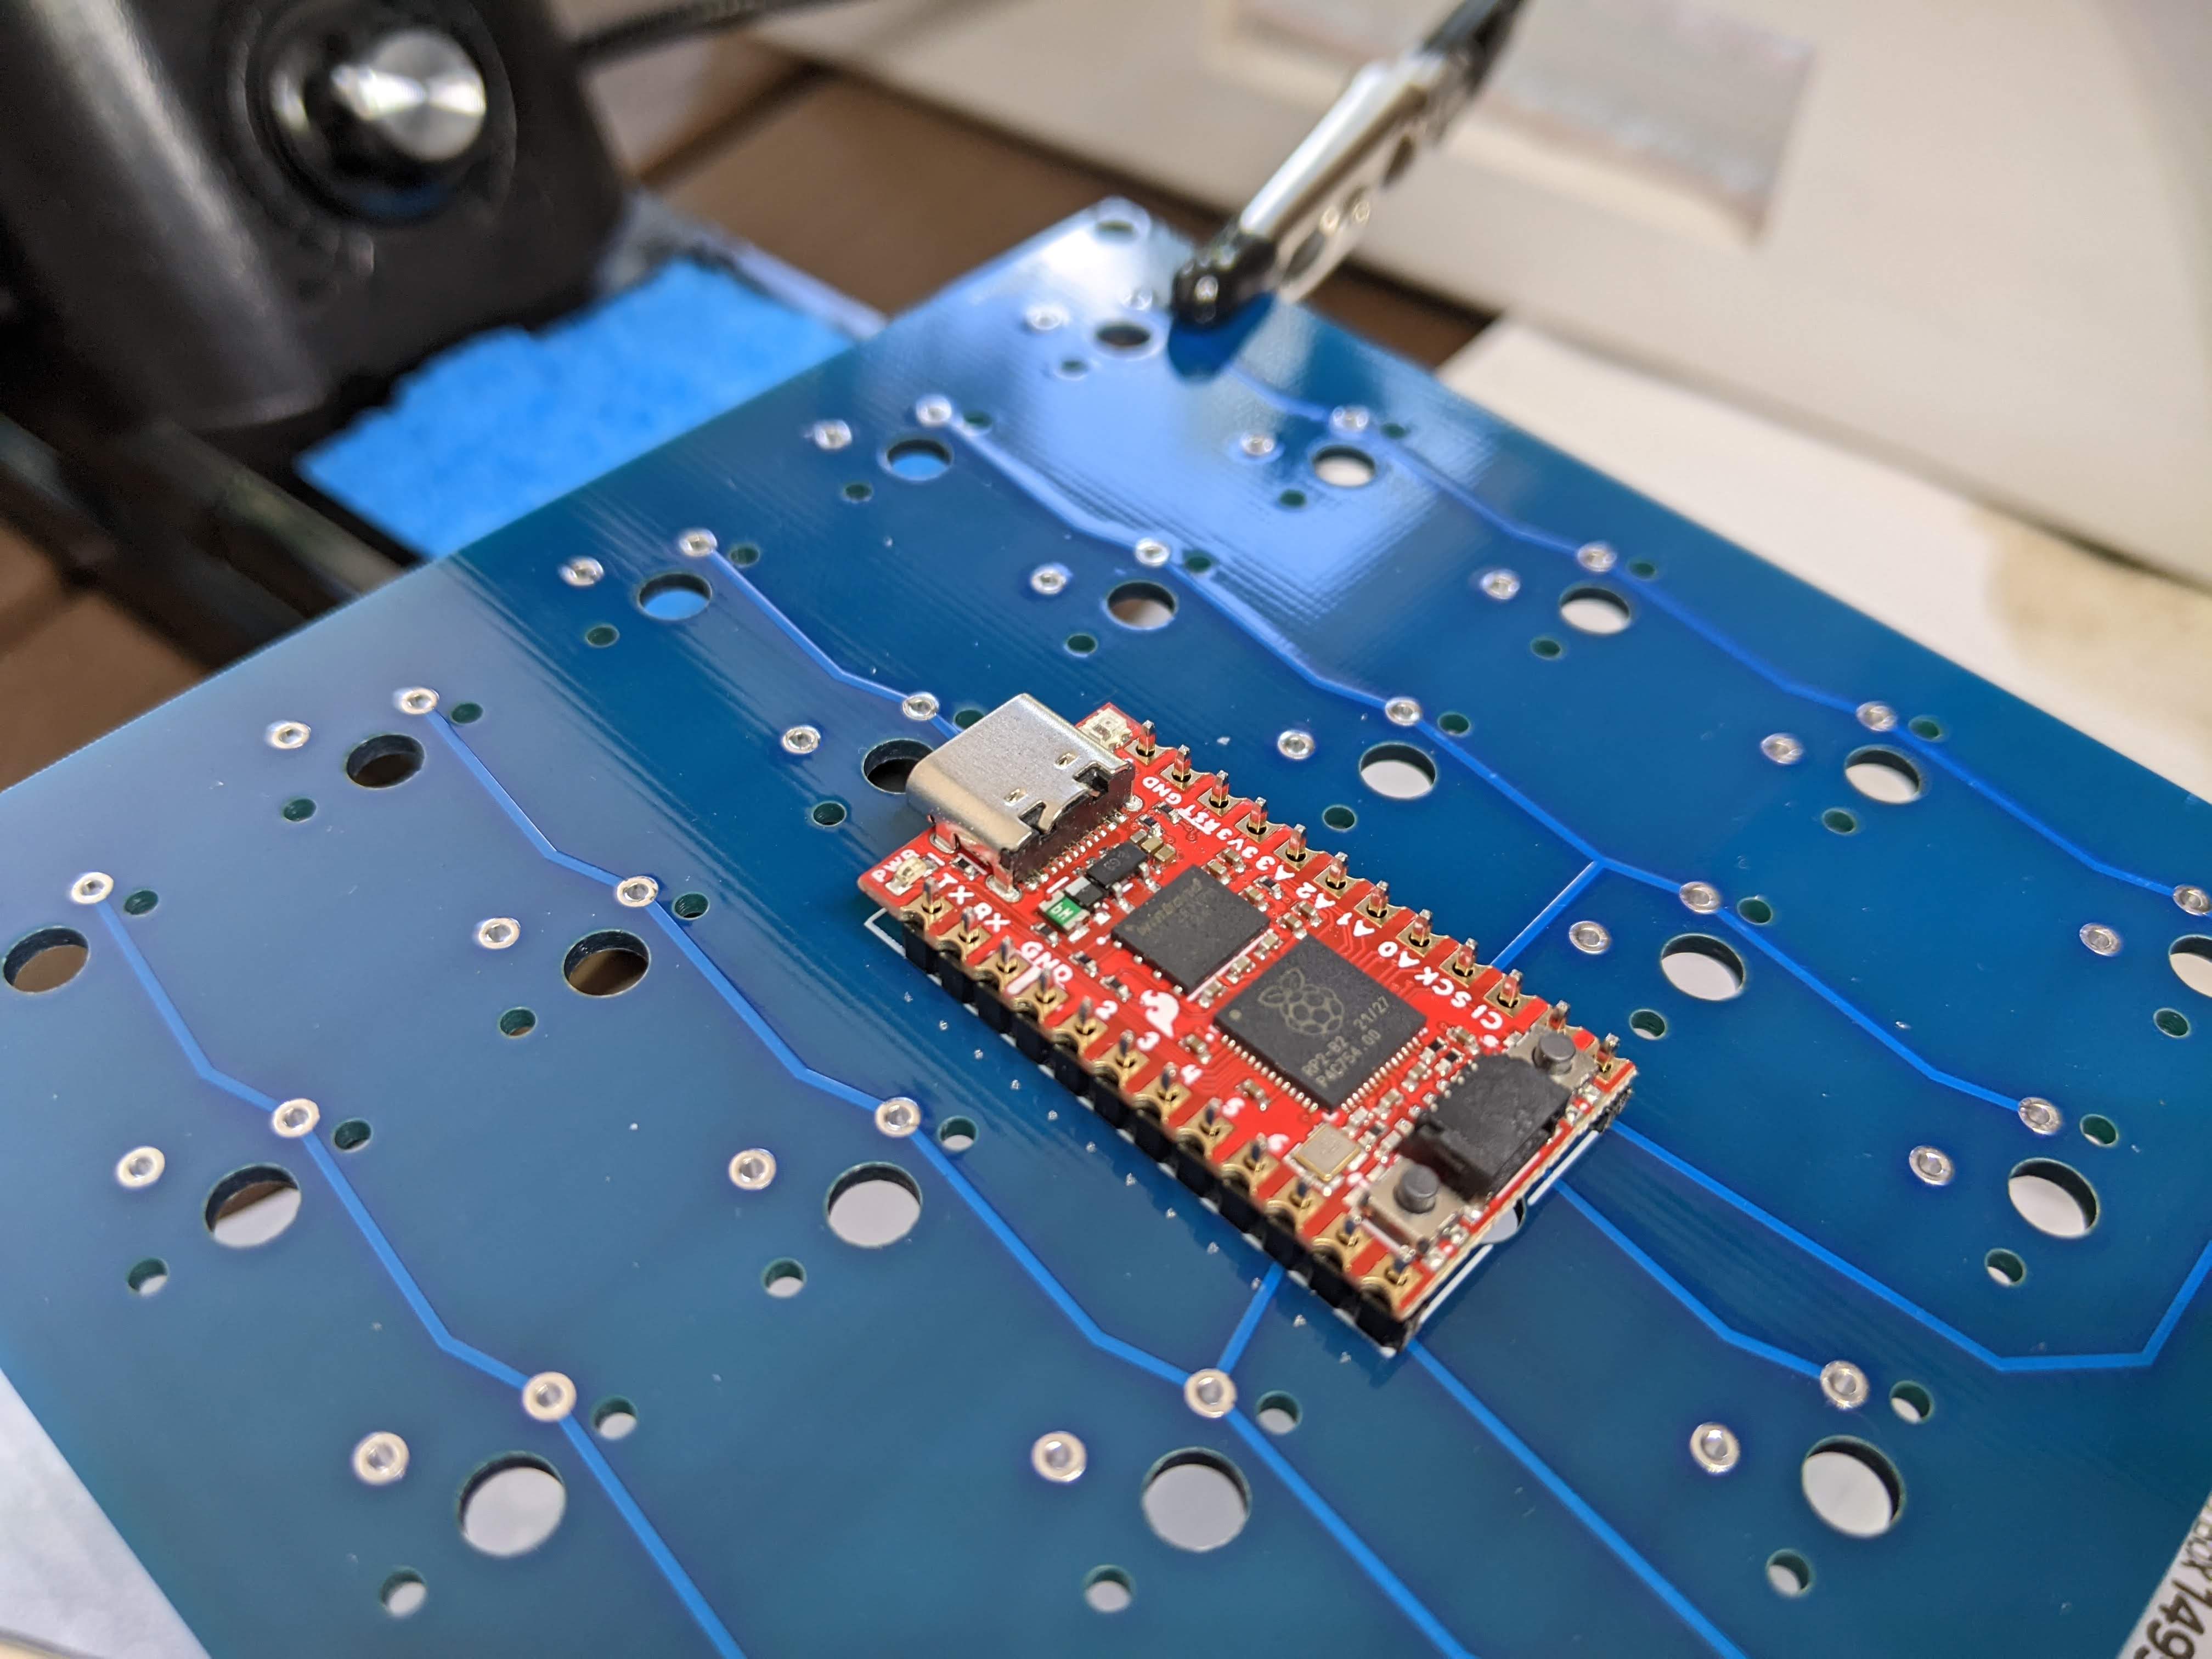
To stay within the 100mm size limit, I decided to go with a ProMicro form factor where the ProMicro sits on the opposite side of the keys in the center of the board. The plastic switch housings were going to sit close to the ProMicro pins poking through the board. I wouldn’t be sure it would fit until all the components were in place.
I think they turned out pretty well:
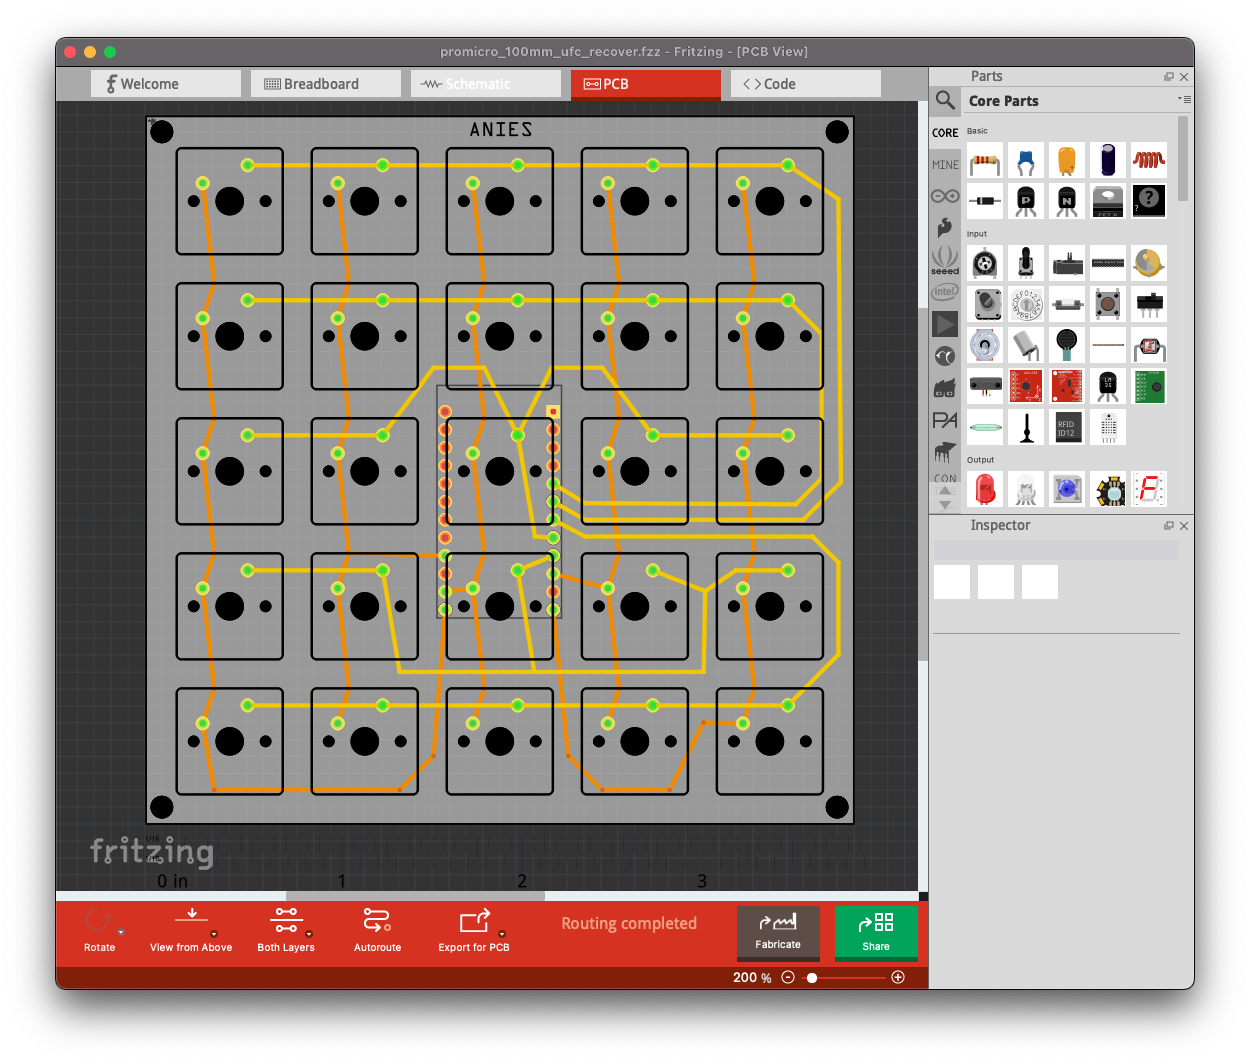 Fritzing board view
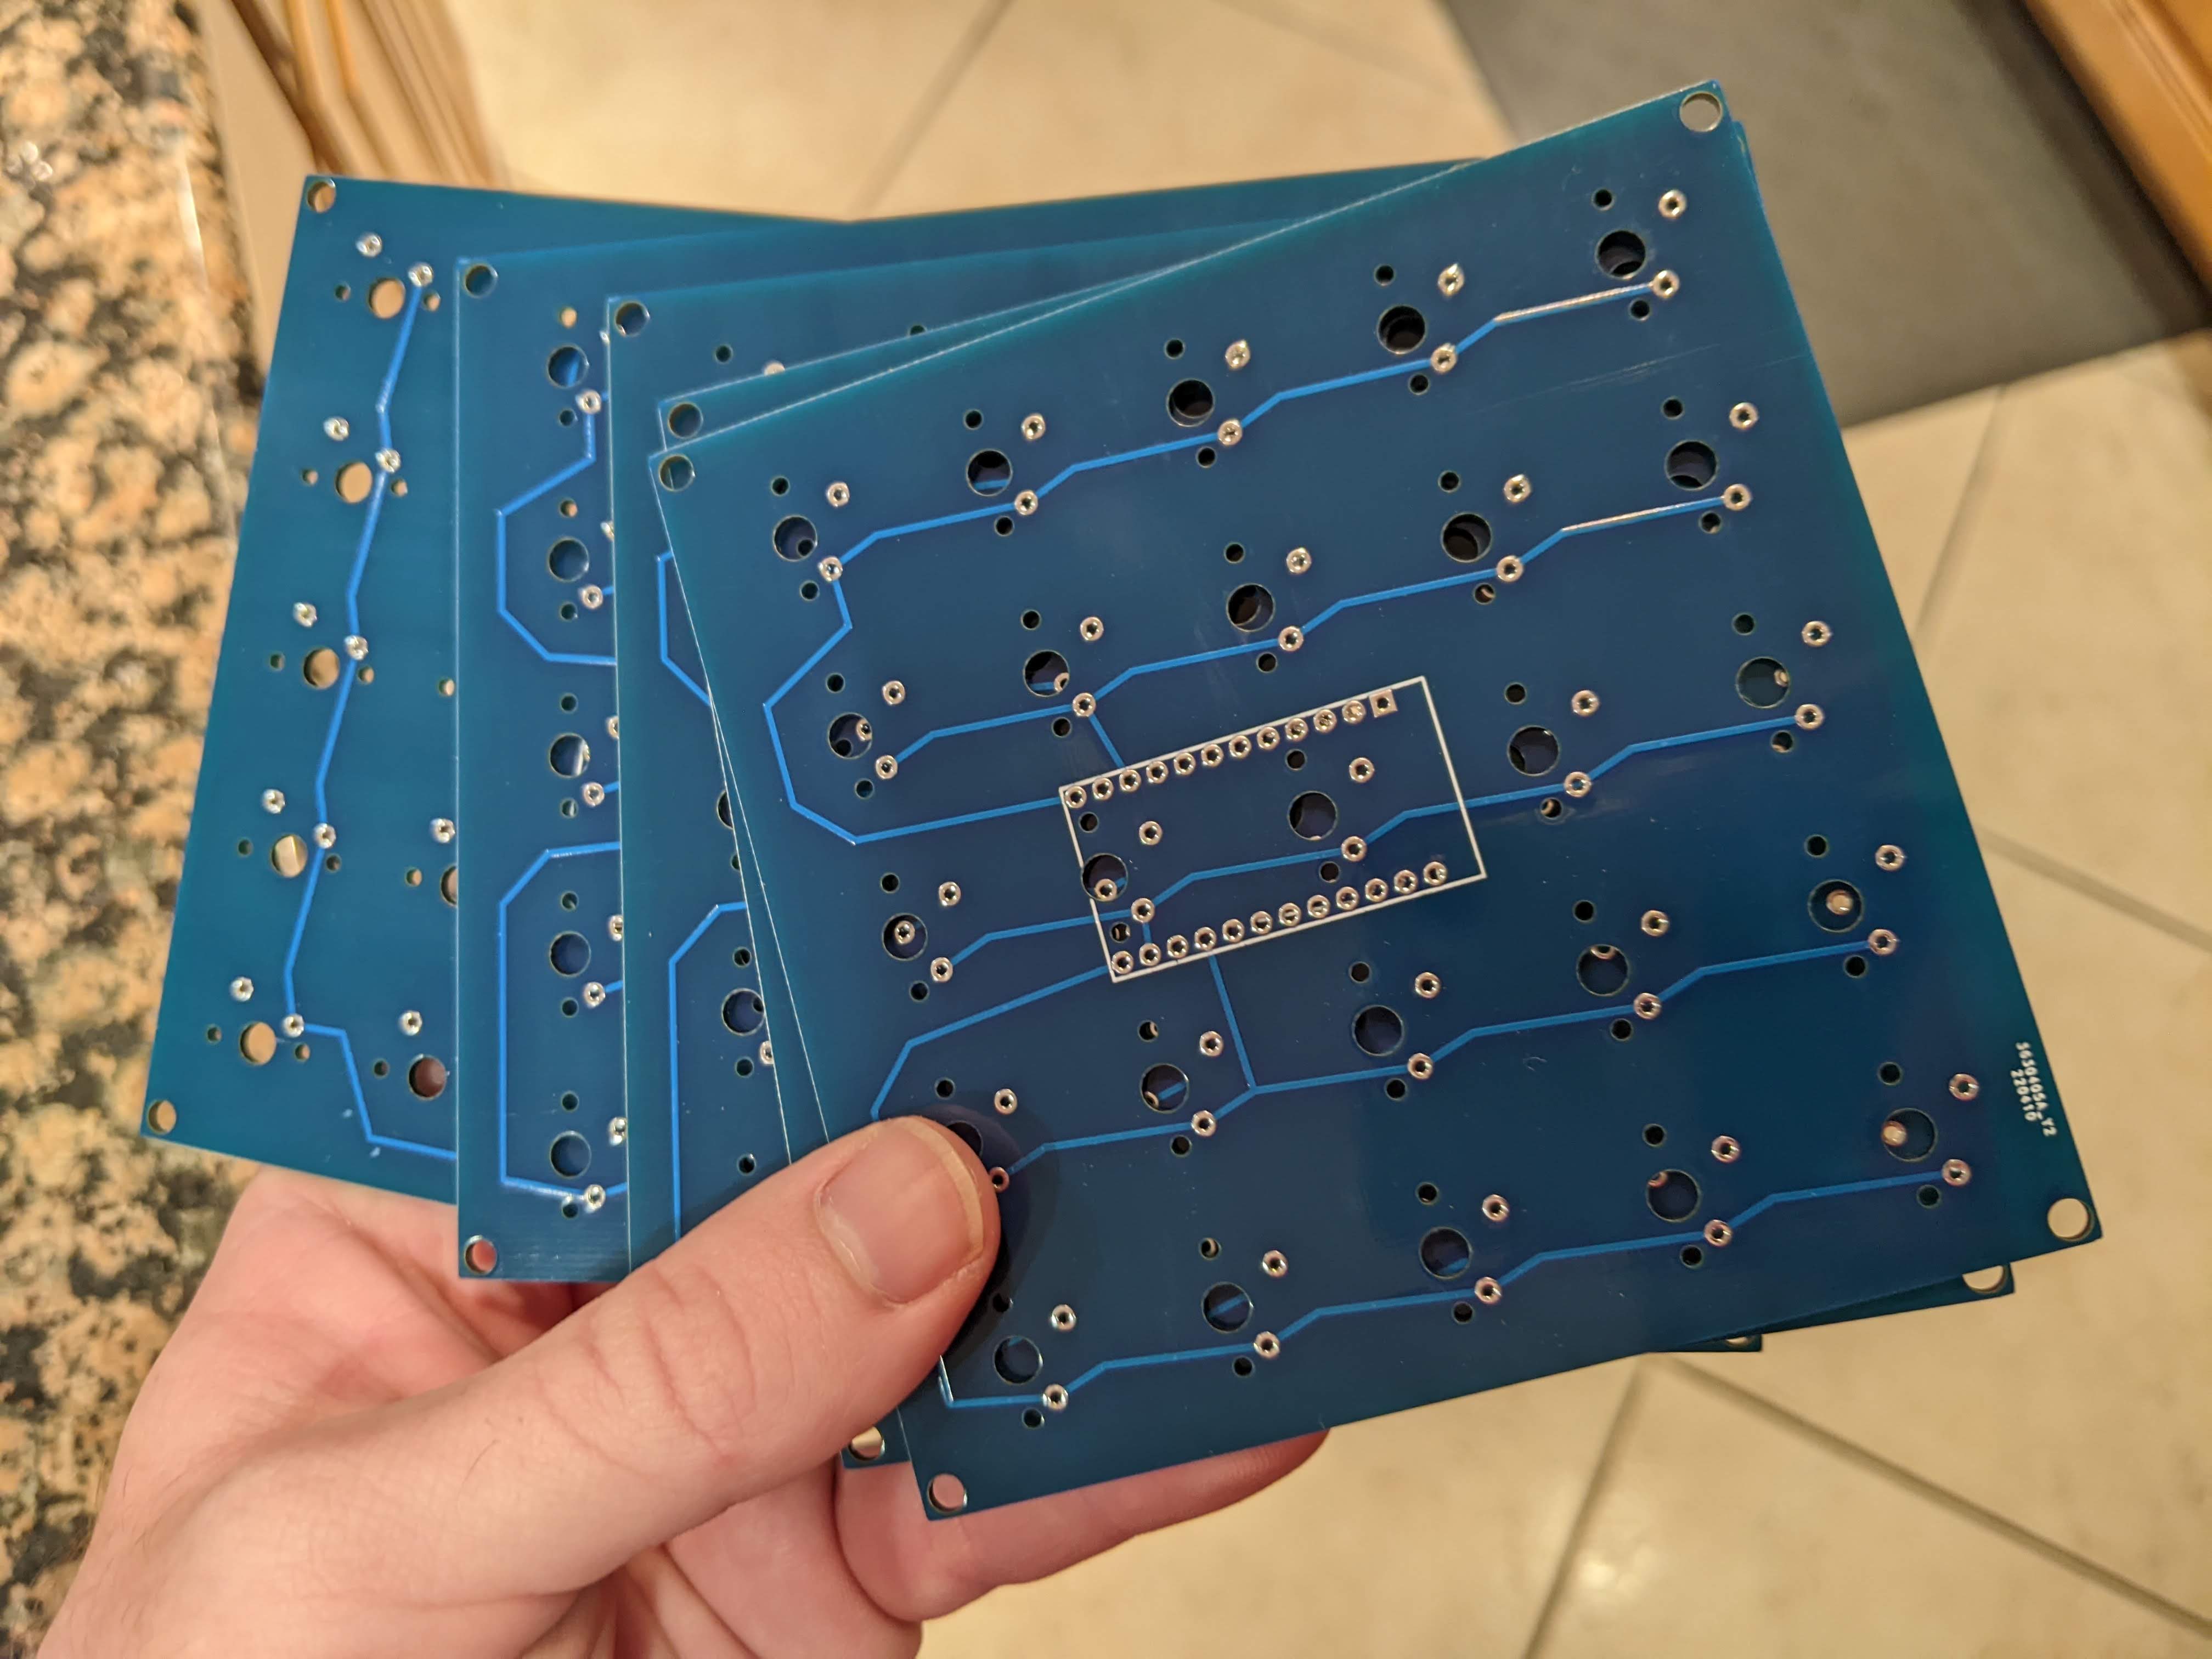 Close fit pins to the switch housings
Assembly
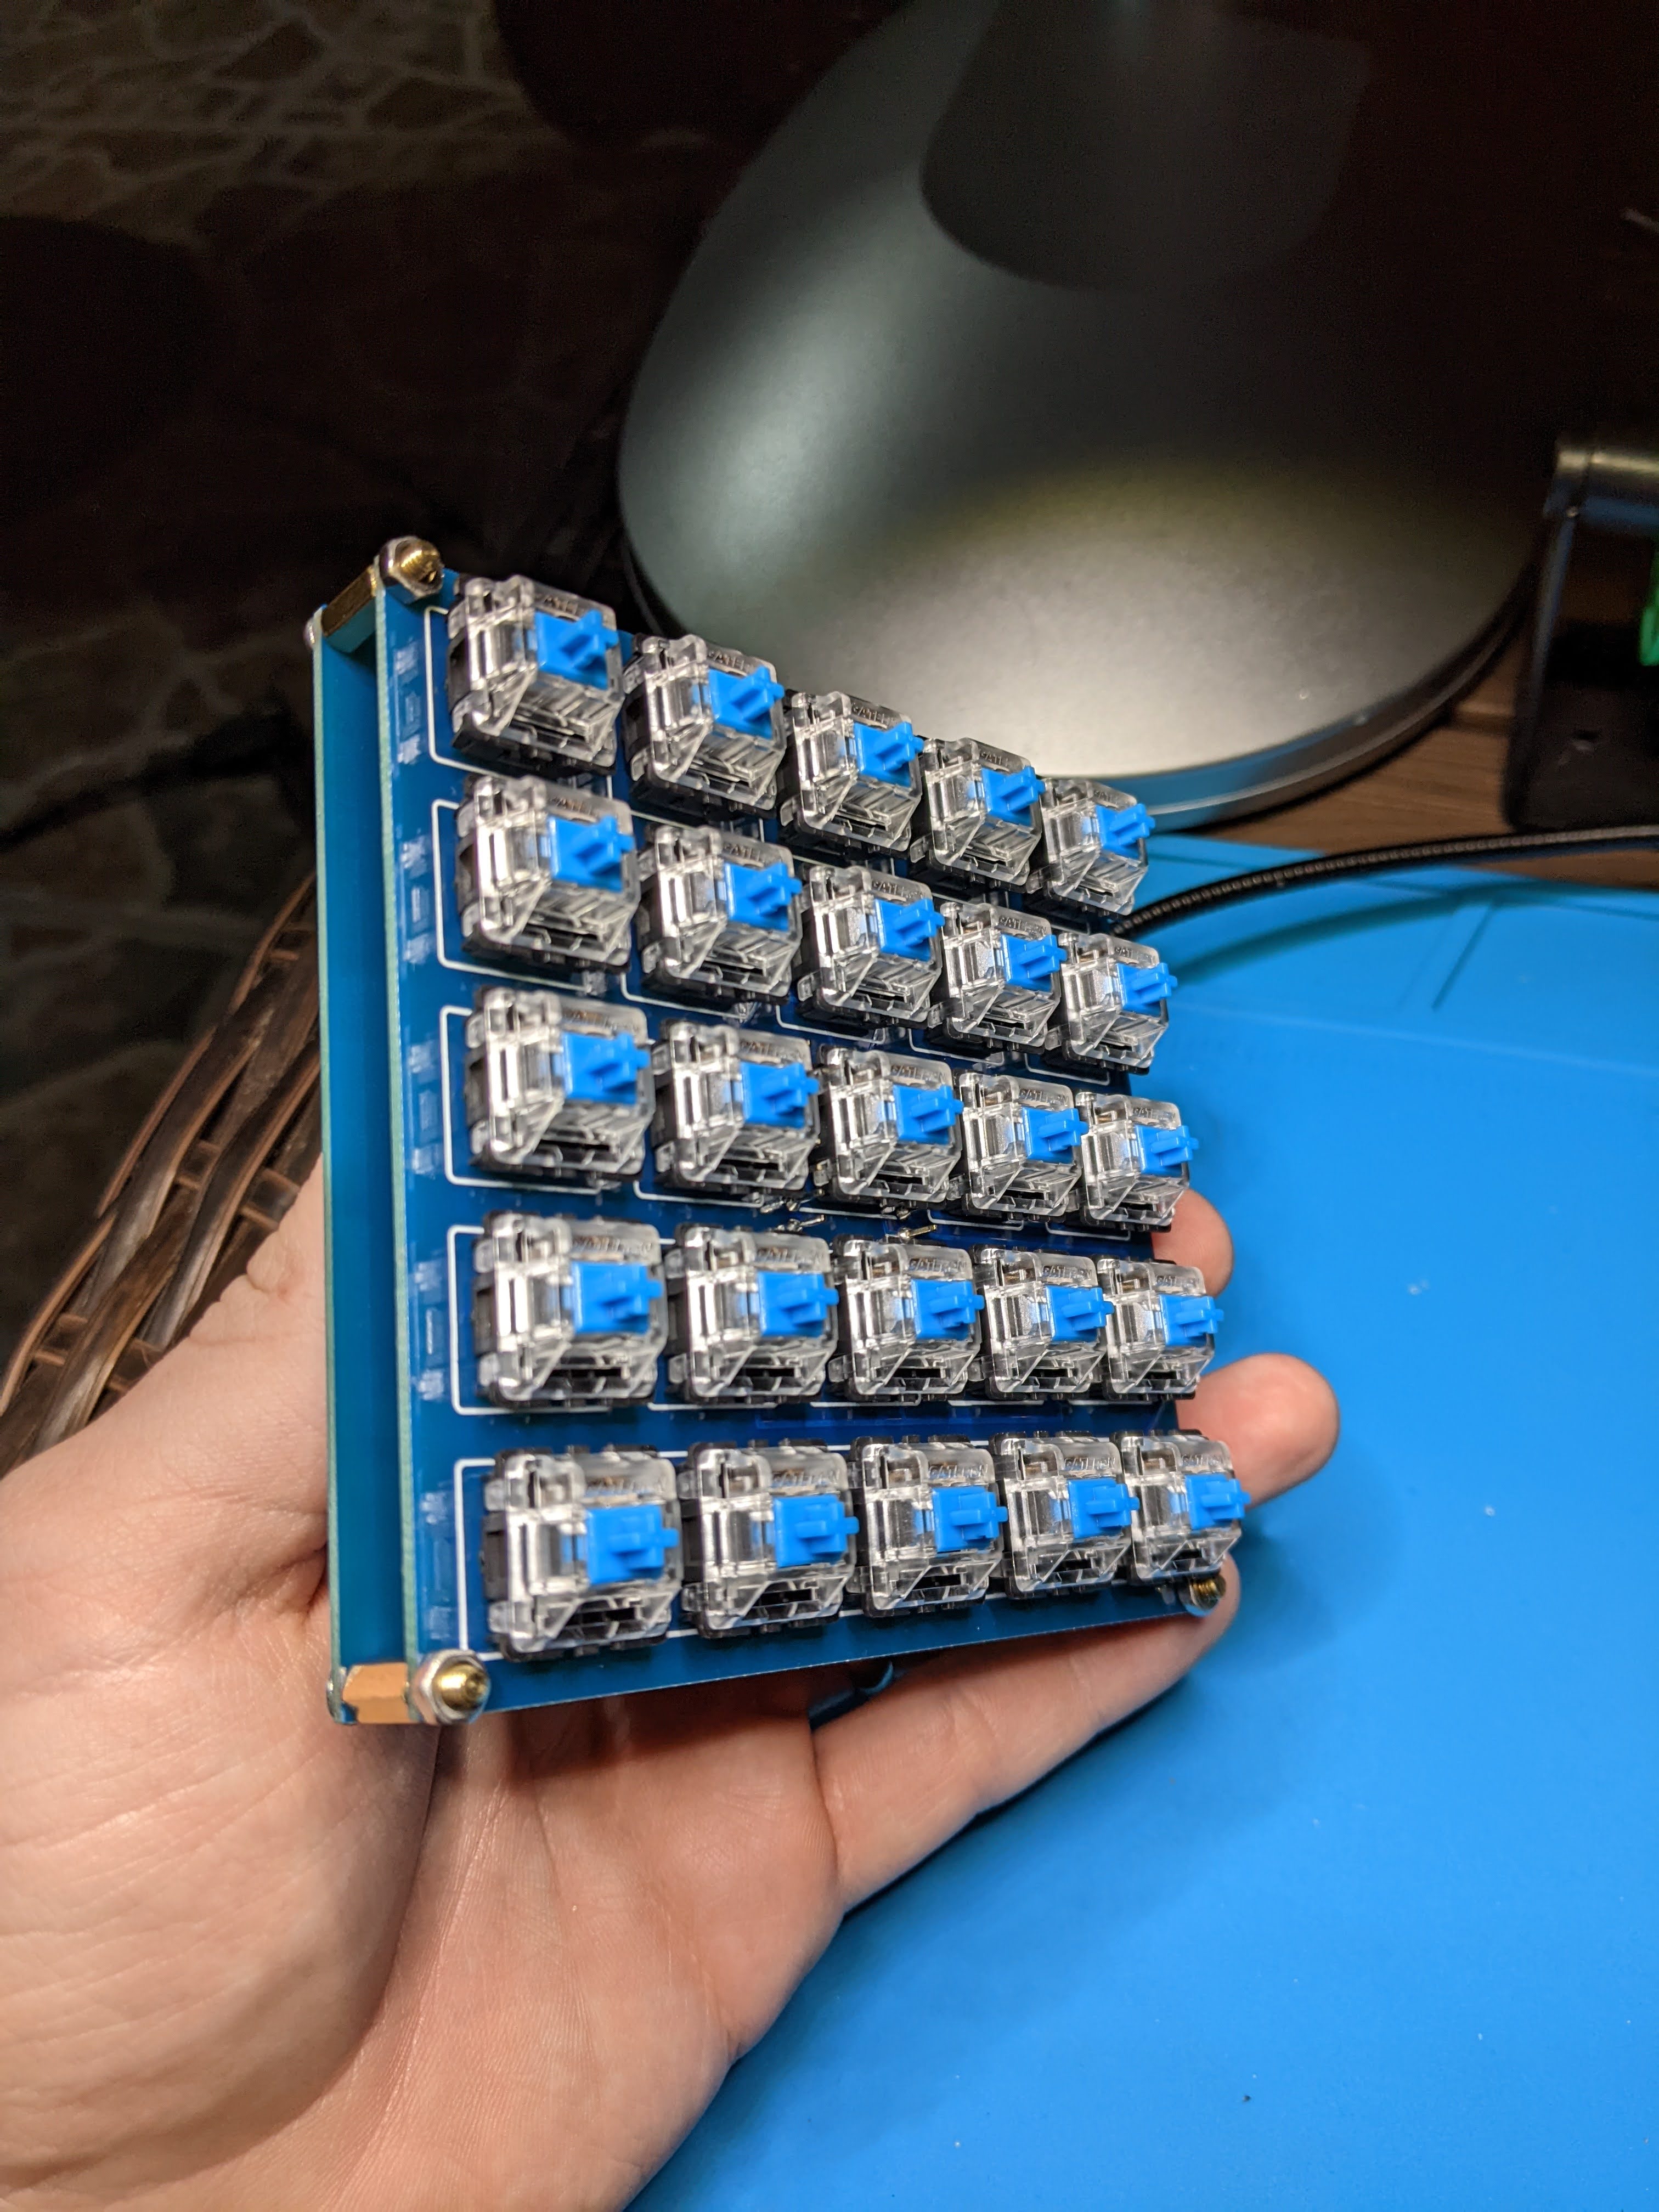
Assembling the board ended up being the most enjoyable part of the process. The keys fit without issue from the ProMicro pins.
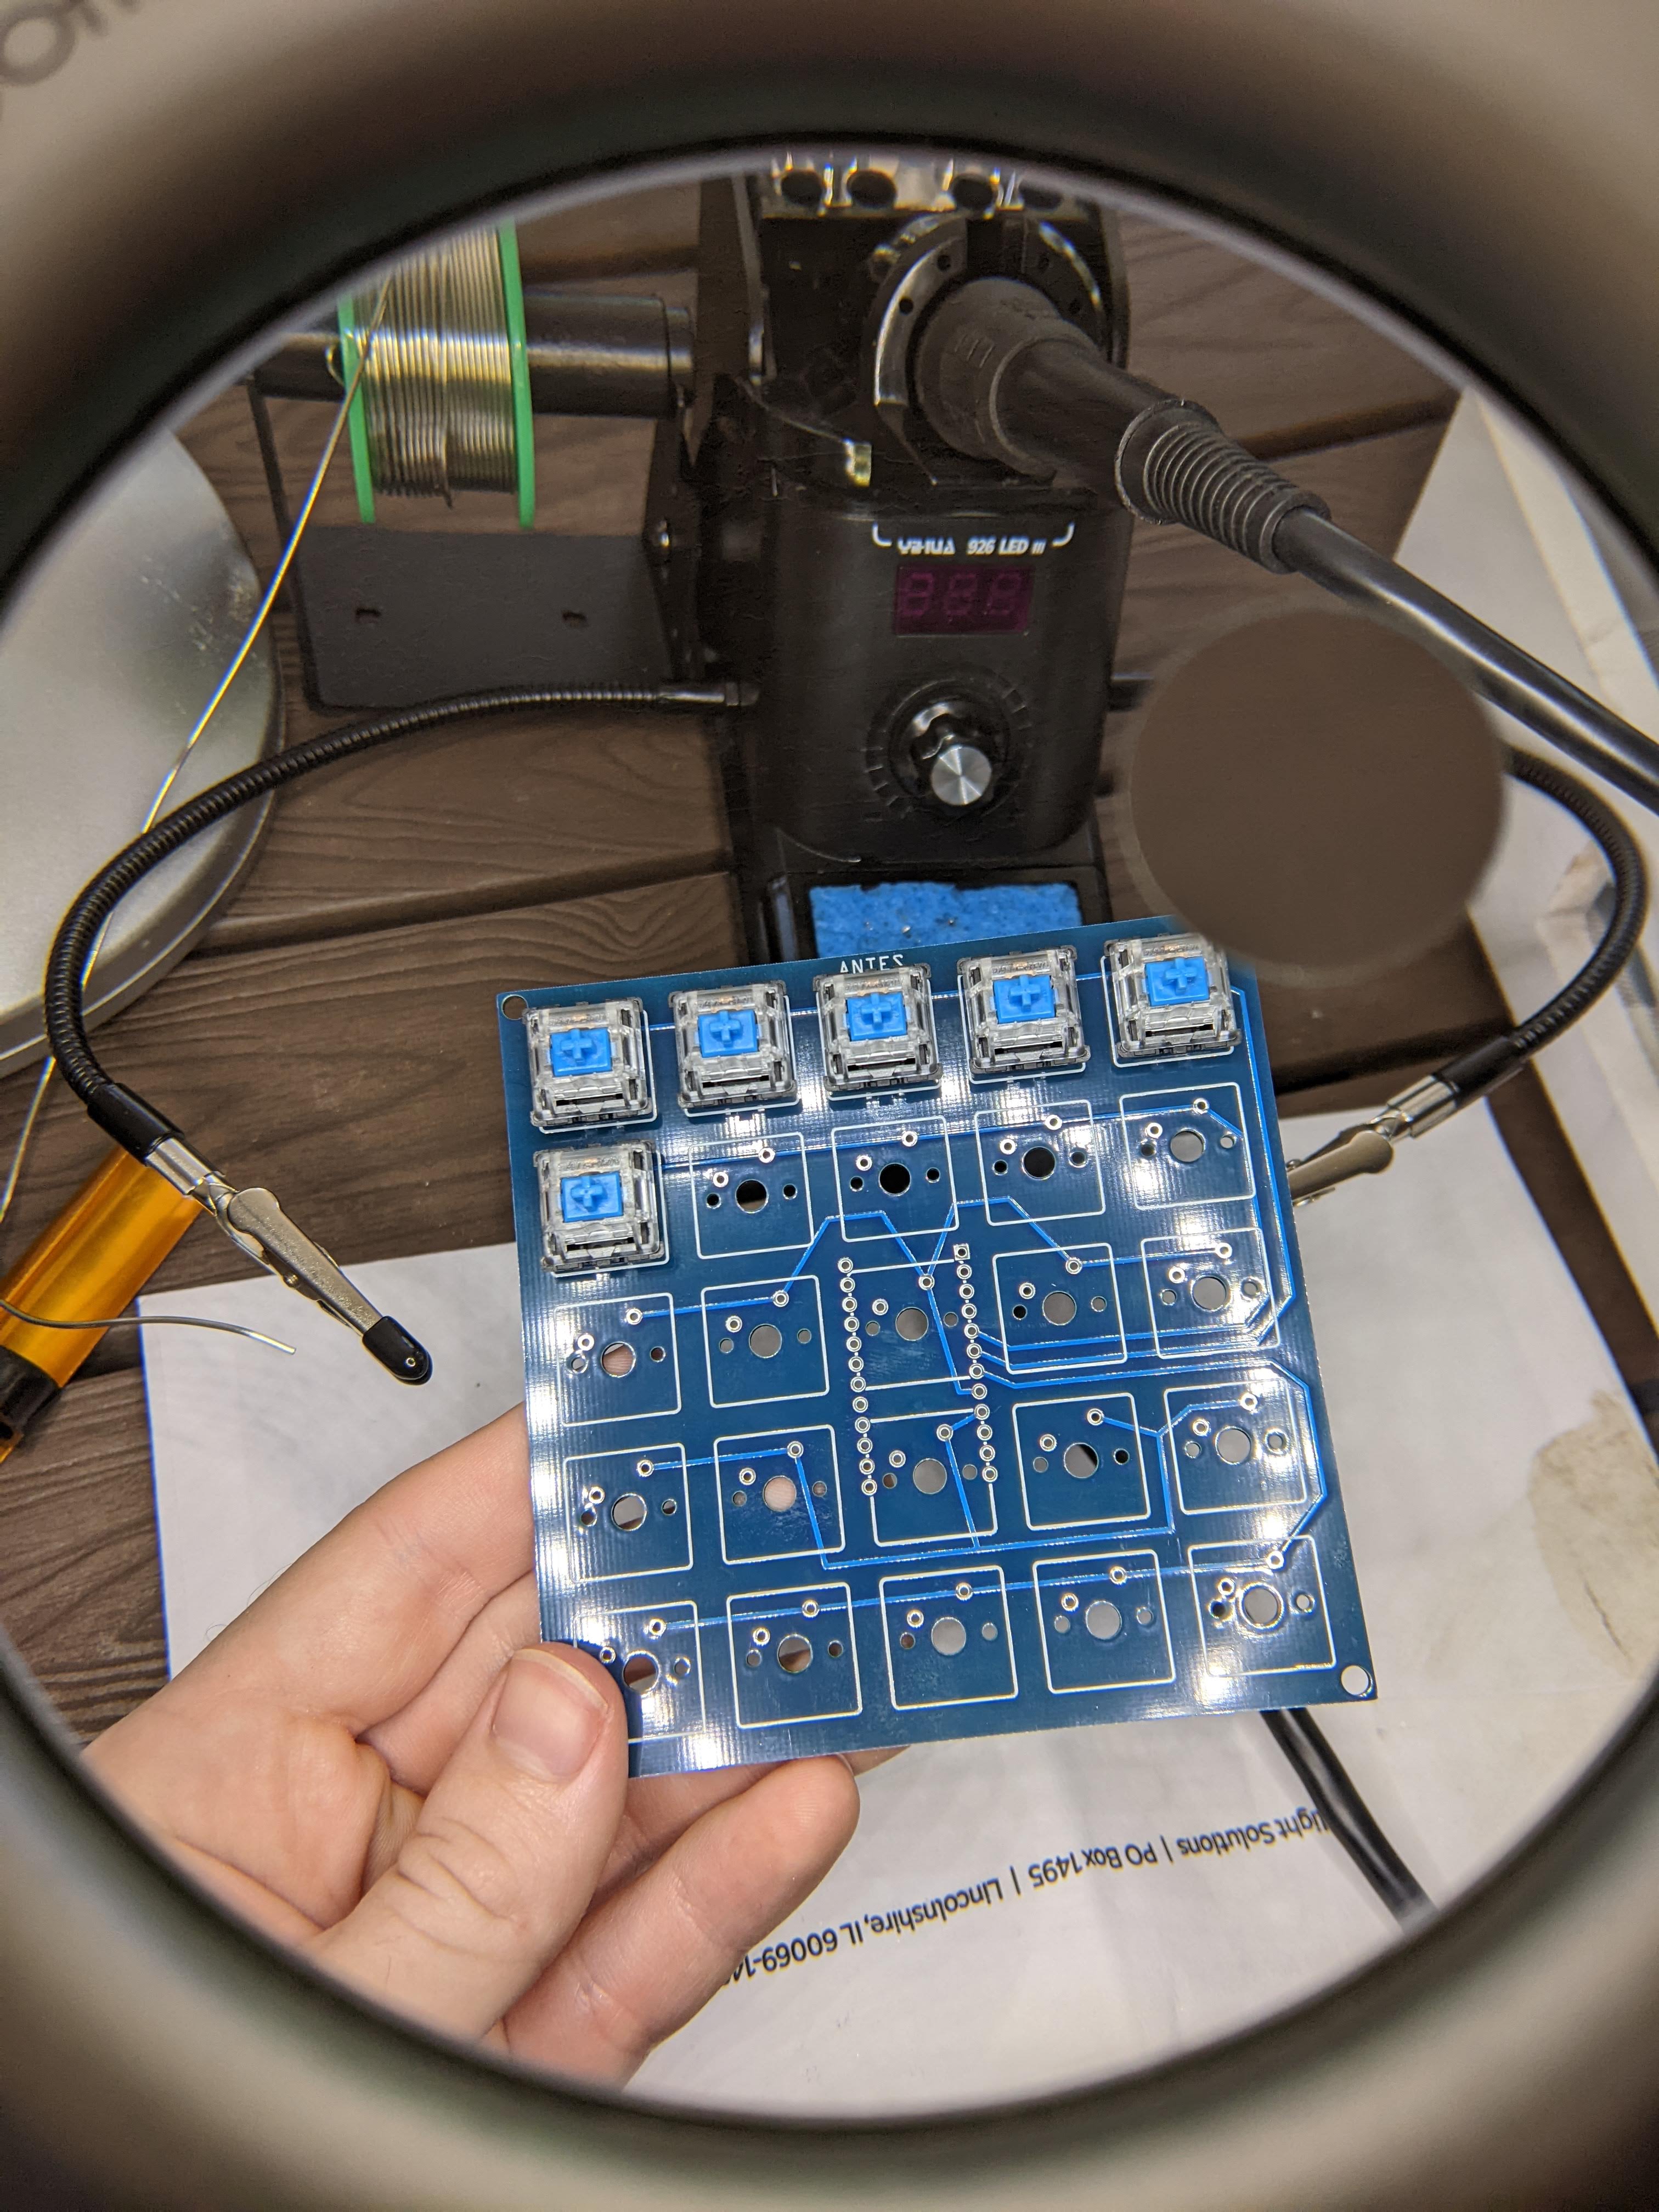 You gotta have the clicky Blue switches
I assembled two boards, one with the ProMicro soldered directly to the PCB and another with connector pins to remove the ProMicro if needed.
 Flush mount
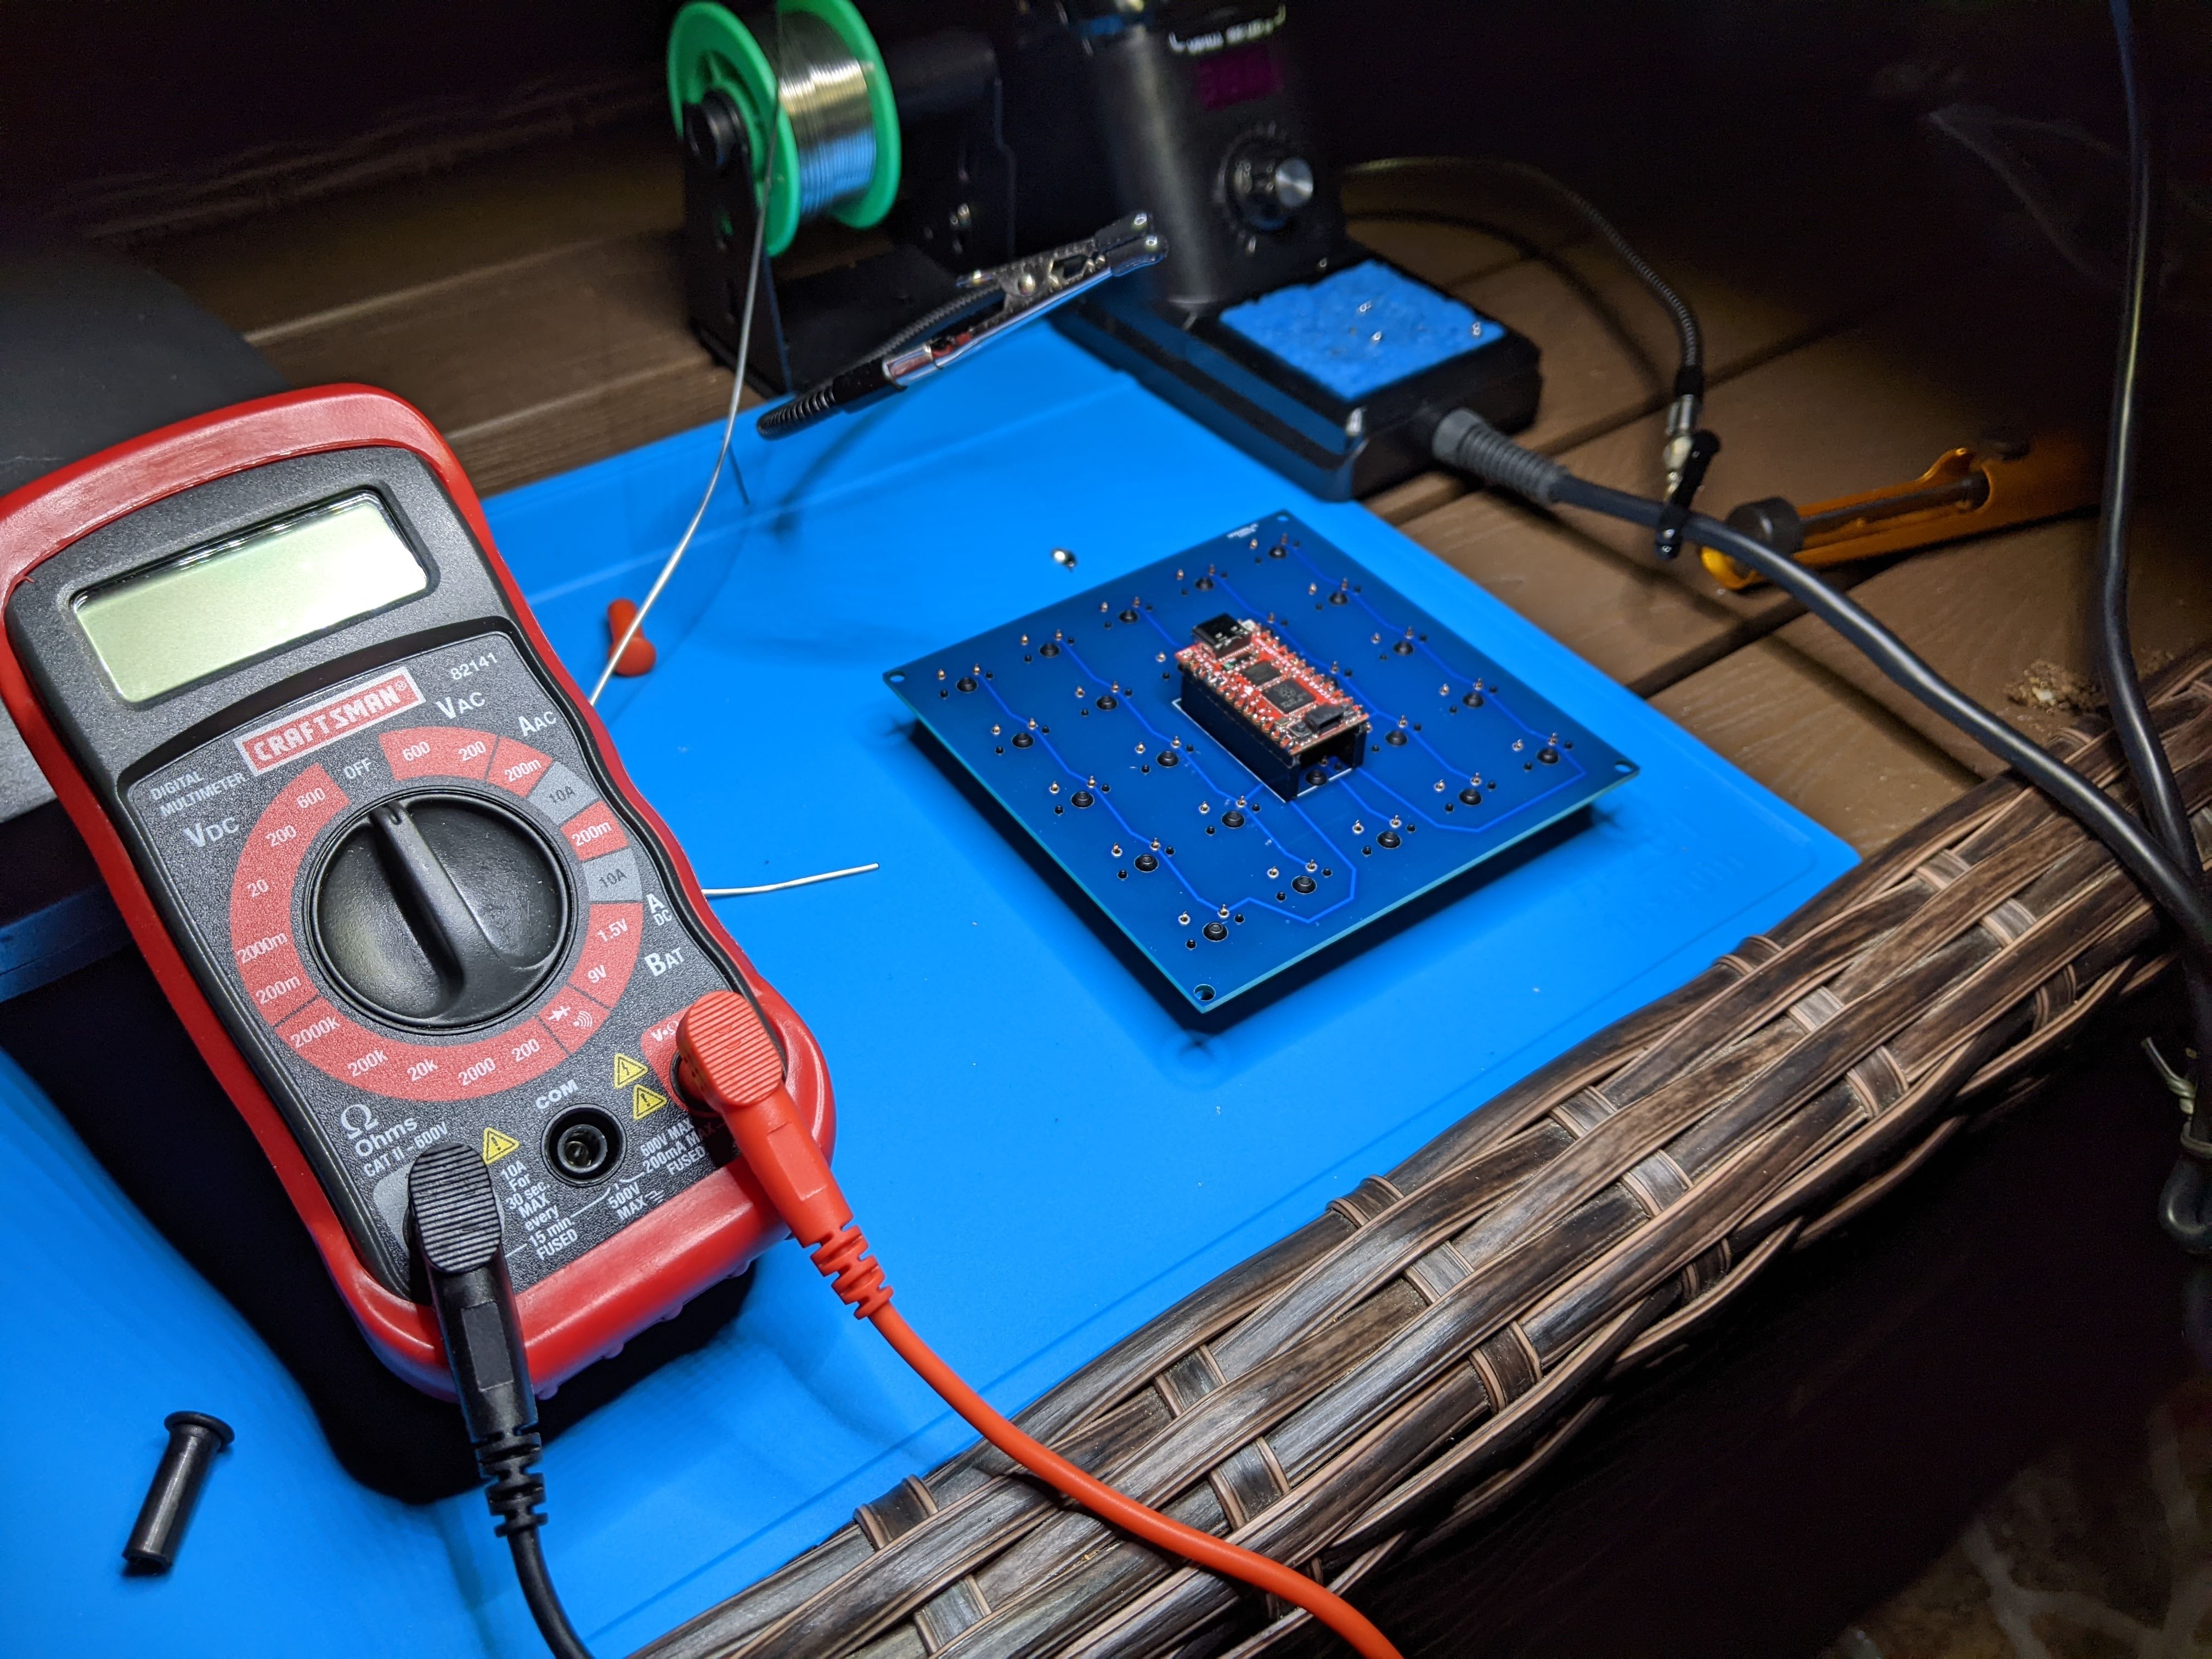 Connector mount
I used the extra PCBs and spacers to sandwich the processor as an ad-hoc case. The flush mount ProMicro fit snugly between the boards using short stand-offs.
 ProMicro sandwiched between boards
Here it is with gray DSA keycaps:
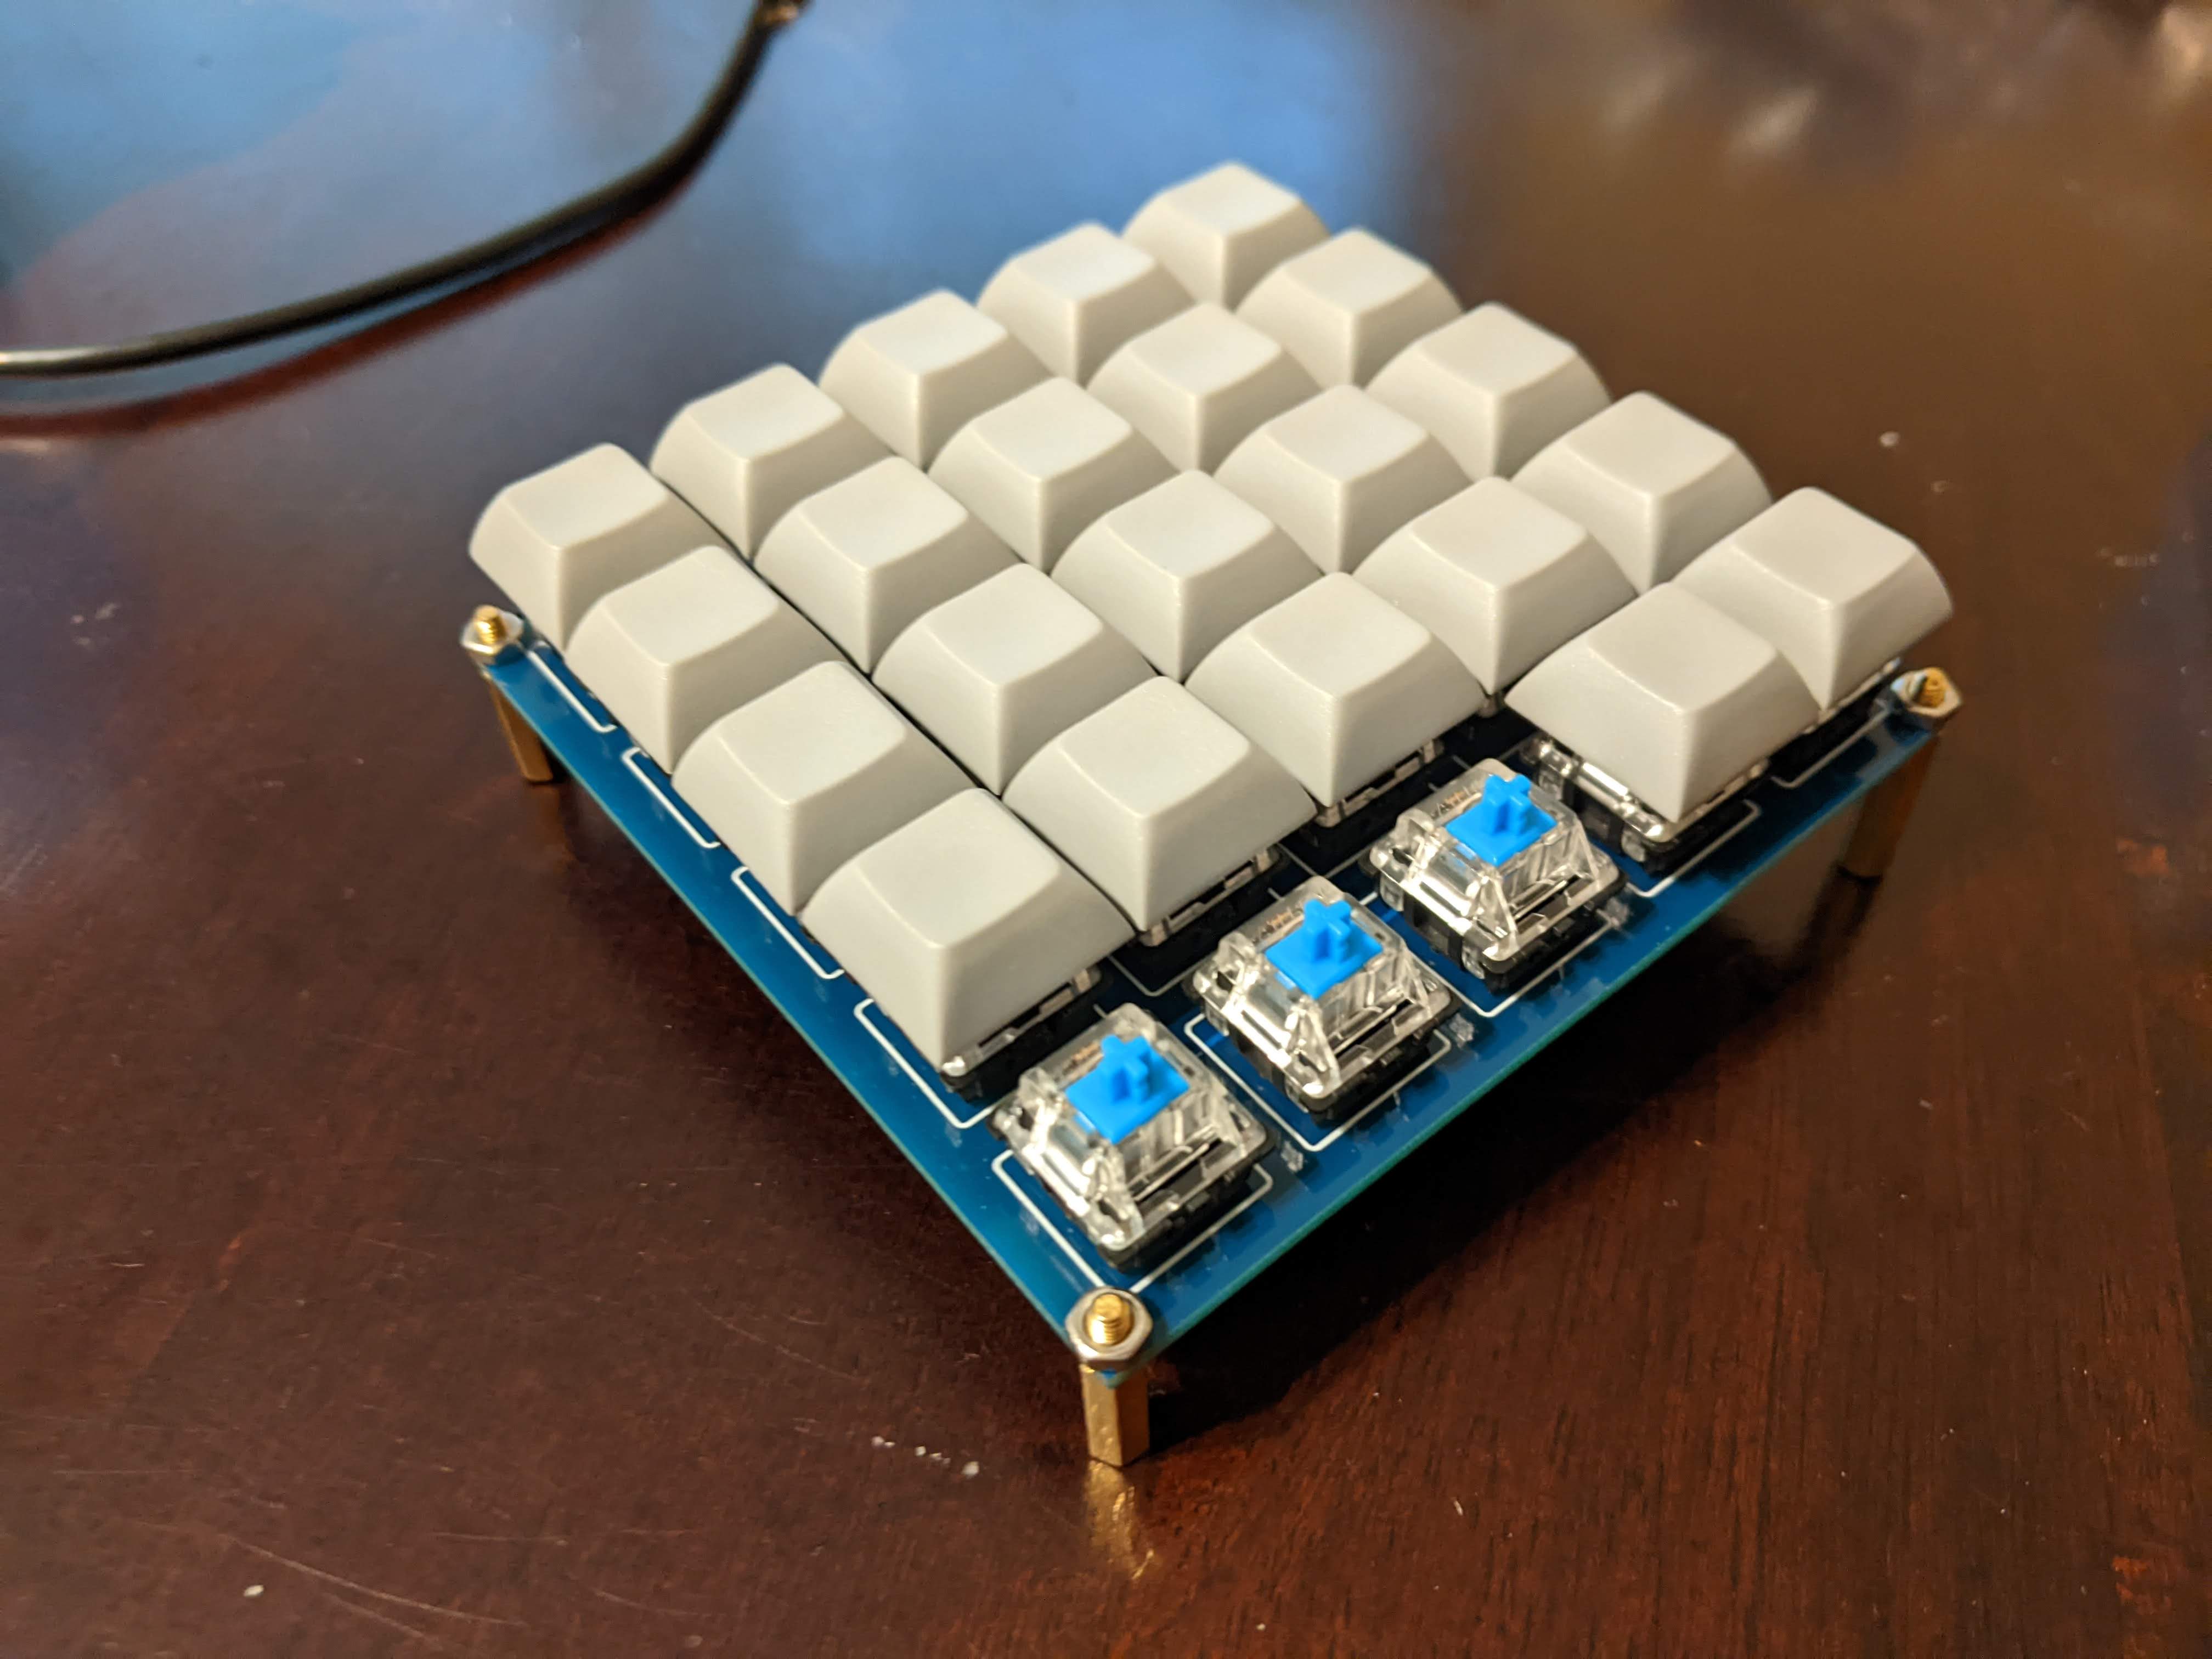
Completed UFC Macropad
With 3D-printed keycaps, the F/A-18C UFC is a success!
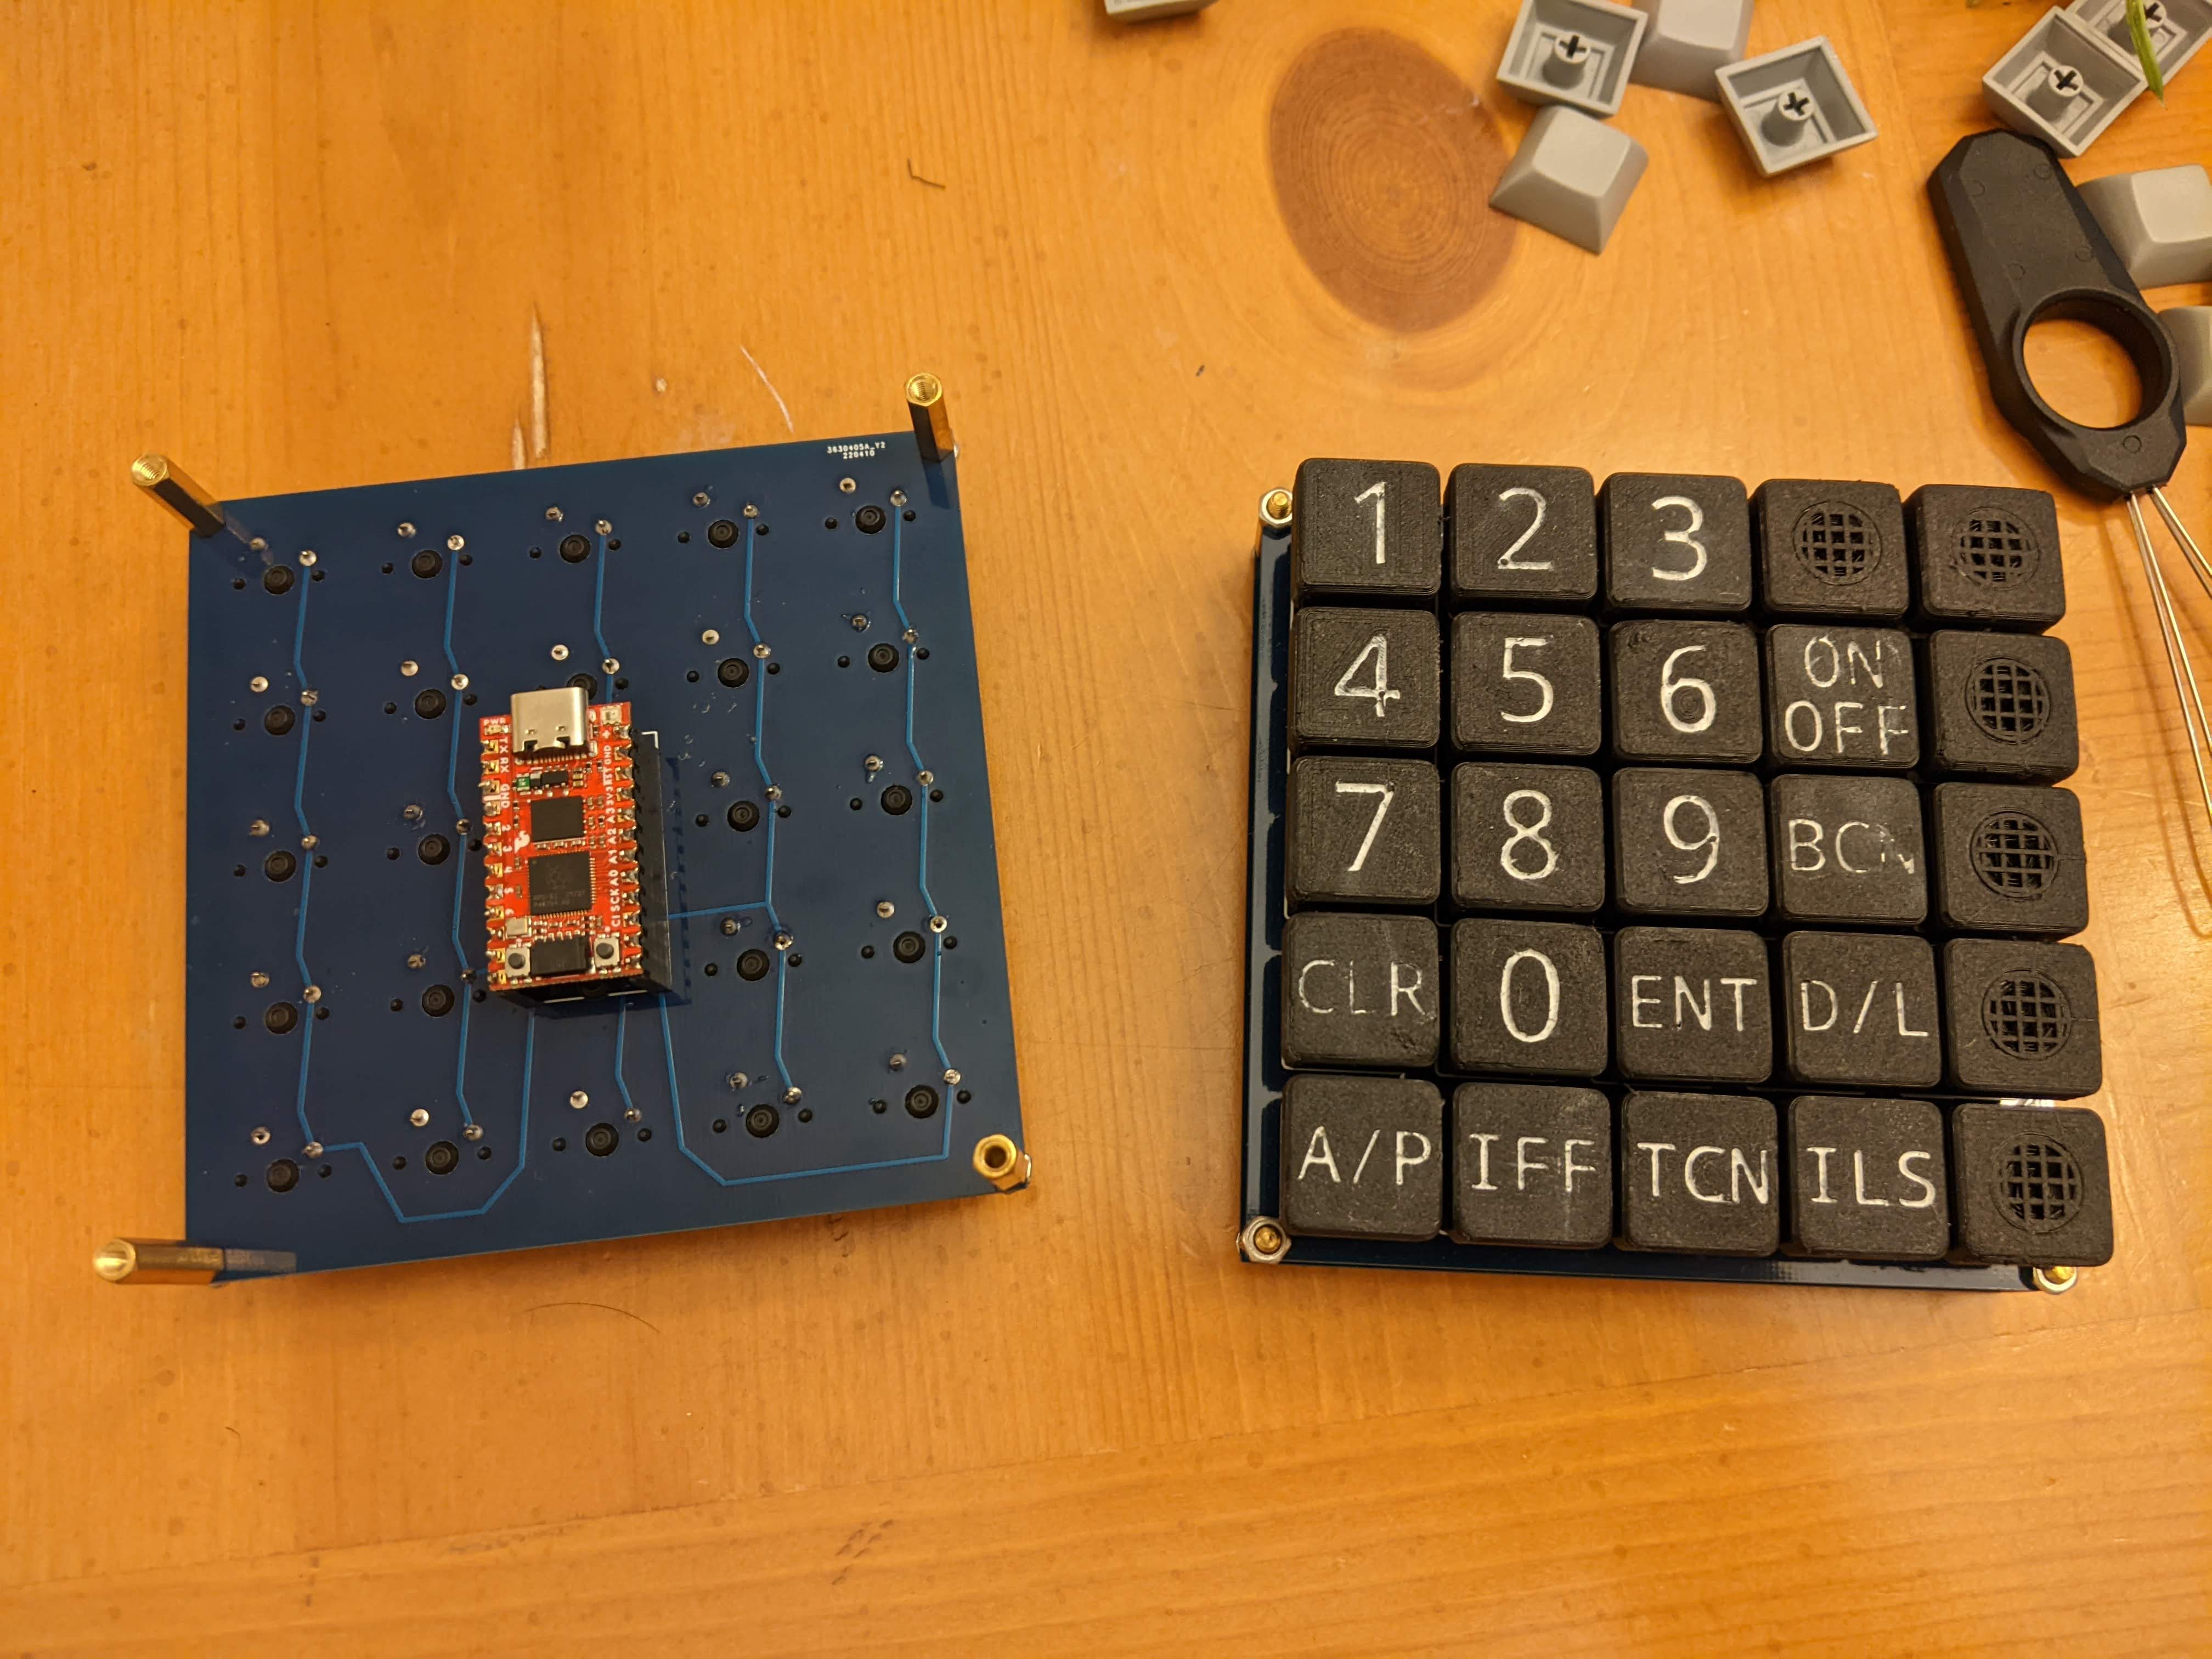 Thanks to my Wife for painting the keycaps!
I had planned to write firmware from scratch in MicroPython to attach as gamepad HID device. Thankfully, I found keyboard firmware which supported the RP2040 (kmk_firmware) that comes with the caveat that the macro-pad sends keyboard events instead of gamepad events.
Each key is mapped to two modifiers (LCtrl+RCtrl) and a character A-X. The modifiers are used to avoid colliding with other keyboard commands while using a flight simulator. I’m able to remap these keys by simply editing the kmk config.